Create a Custom 3D Printer Scene
If you have your own model of a 3D printer and you wish to use it with the addon, you will have to set it up yourself. This is more advanced than the previous guides and requires a little bit of knowledge of drivers in Blender. The guide will walk you through every step.
I highly recommend learning a little bit about drivers before you start this guide:
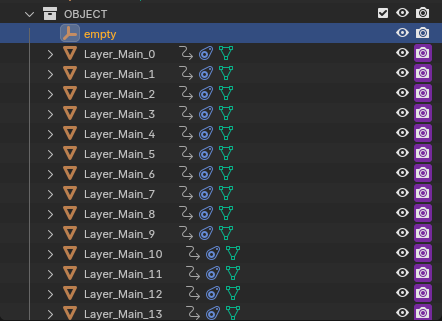
- The first step is loading the GCode as usual. Follow Your First GCode Import if you are not sure how.
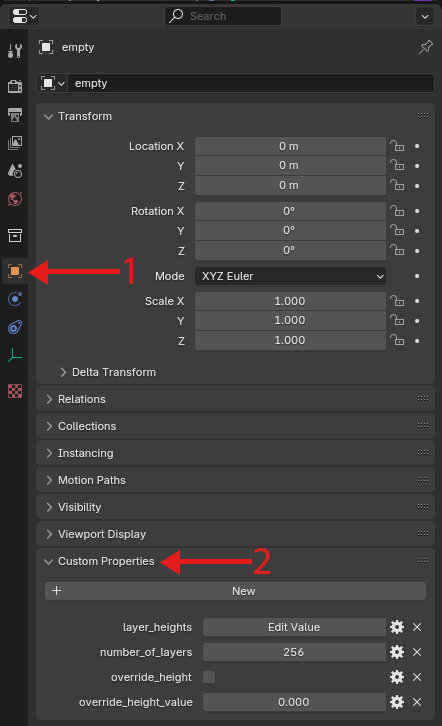
- Once you have loaded your gcode. Select the
emptyobject that is created.
- Then find the
Object Propertiestab and then theCustom Propertiessubsection.
- Click the
Newbutton and a new field calledpropwill appear in the properties.
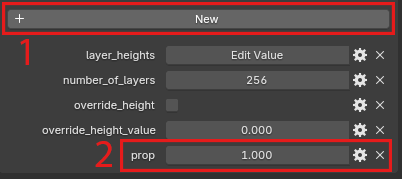
- Click the gear icon next to the
propproperty.

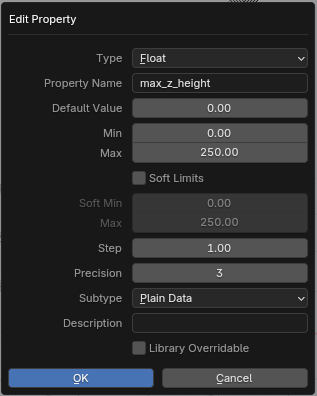
- Rename it to
max_z_heightand set theminto0.0andmaxto the maximum height of your printer. Below are my settings, you can copy them exactly. Increasemaxif your object is larger than250mm.
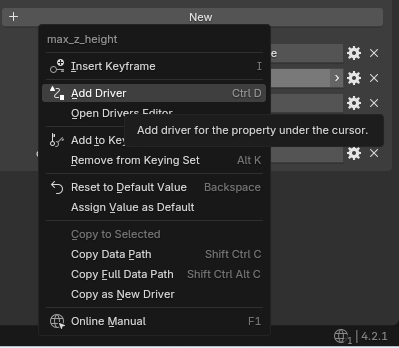
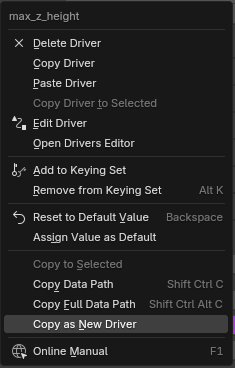
- Right click on the value next to
max_z_heightand clickAdd Driver.
- In the driver editor make sure these properties are exactly these and entered in the same order as shown in the image.

Single Property

LayerIndexTopScene
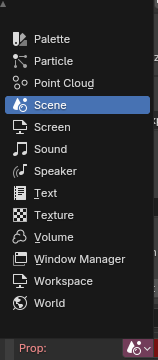
- Your current scene. Most probably named
Scene. Stitcher_Props.LayerIndexTop- Enable
Use Self - Copy and paste this exactly
self["override_height_value"] if self["override_height"] else self["layer_heights"][LayerIndexTop] if LayerIndexTop < self["number_of_layers"] else self["layer_heights"][self["number_of_layers"]]
- You have now created a driven property. When you change the layer height, this property will correspond to the top of your print
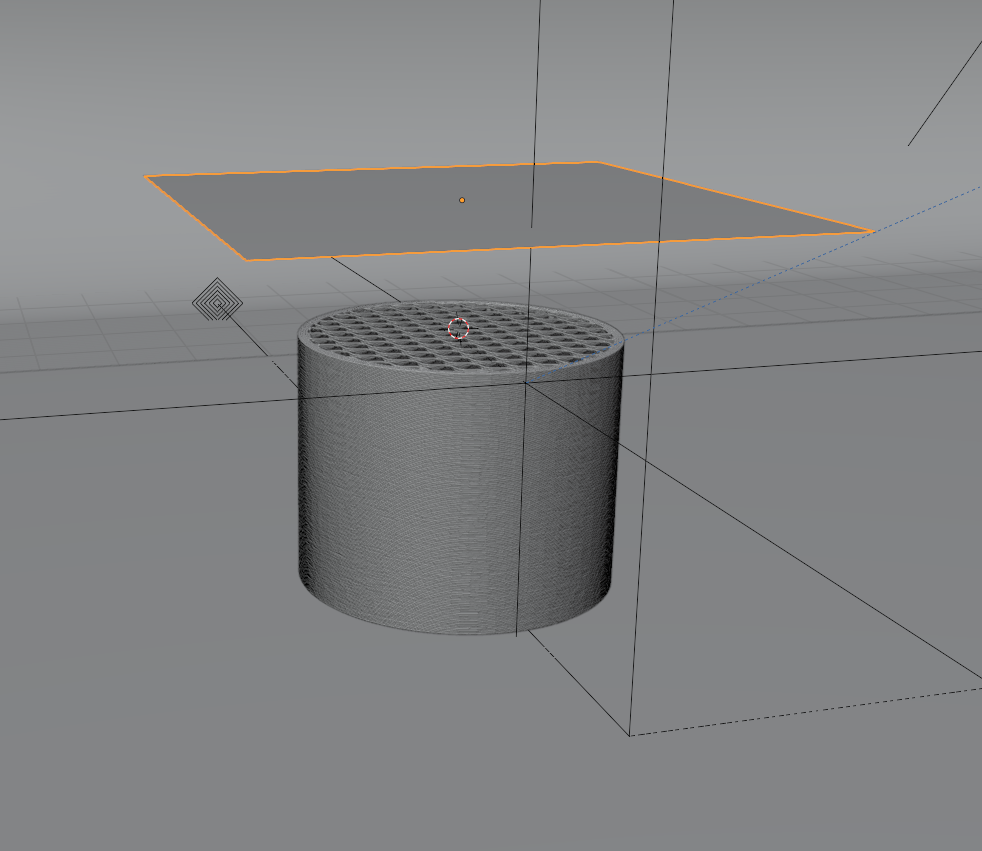
- You can use this property in any driver of your choice and assign it to their z height. For Example.
- Create a new plane and place it above your loaded GCode.
- Go back to
max_z_height. Right click the value andCopy as New Driver.
- Then select the plane you just created. Go to
Item > Transform > Locationin the n-panel.
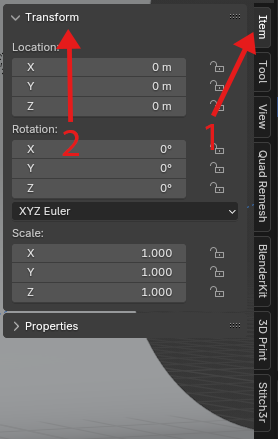
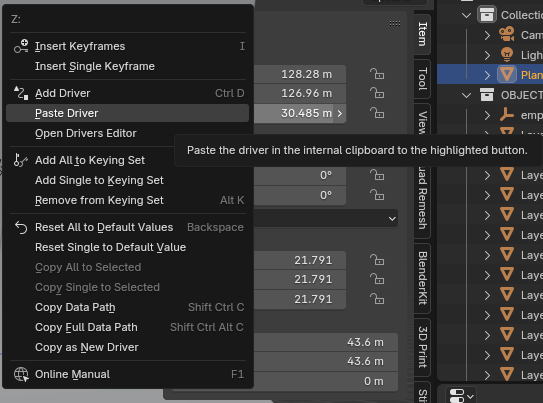
- Right click the value next to
zandPaste Driver.
- Now your plane should respond when you change
Layer Indexin the addon.
- Create a new plane and place it above your loaded GCode.