Your First GCode Import
Before getting started, it is not necessary but is a good idea to familiarize yourself with the UI of Blender. How to navigate the different sections and some handy mouse. Here is a video from BlenderGuru that is highly recommended:
-
How to load GCode?
-
Open the
n-panelin blender by hitting thenkey:
the tabs in your panel can look different but find and click theStitch3rtab and click it. -
Click on the folder icon next to the
File Pathfield
-
Pick the GCode file from the files on your computer. It is recommended you start with a smaller print as your first test, under 300 layers. Please read the following warnings carefully.
⚠ Please note only supported slicers are
PrusaSlicer 2.6.1+,OrcaSlicer 2.2.0-beta+andBambuStudio 1.9.7.52. It should work with slightly older versions of all three as well but have not been tested on them.⚠ Please ensure the file in is the
.gcodeformat and not.bgcodeformat. On most slicers you will find a setting to produce.gcodeor.bgcode⚠ Please ensure the file was produced with the
arc fittingsetting in the slicer turned off. Otherwise, you will get anerror 33⚠ Please ensure that the
Relative Pathoption is turned off when you are selecting the file. Otherwise, you will get a file not found error.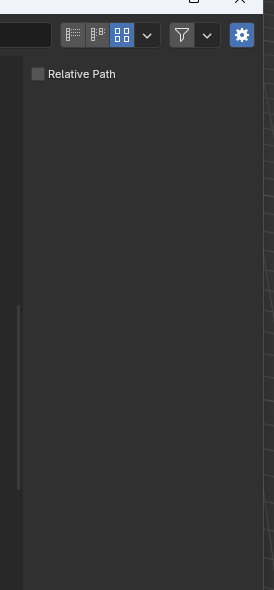
-
Once you’ve picked a file the
Type filtersarea of the addon interface will be populated with all thefeaturesthat are in your GCode file. You can pick the ones you want to load and untick the ones you do not want to load
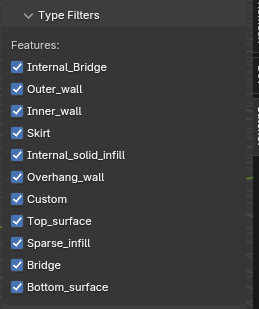
Any time you change any of these, you will have to delete the old processed objects and then load the gcode again. -
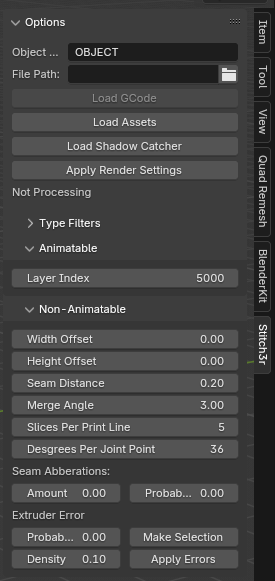
For the other settings please refer to the page below that explains the other settings
Non-Animatable Settings -
Once you are done with the settings click the
Load Assetsbutton. It is not necessary to click this but it will give you a reference to zoom your camera at.

Your viewport should now appear something like this:
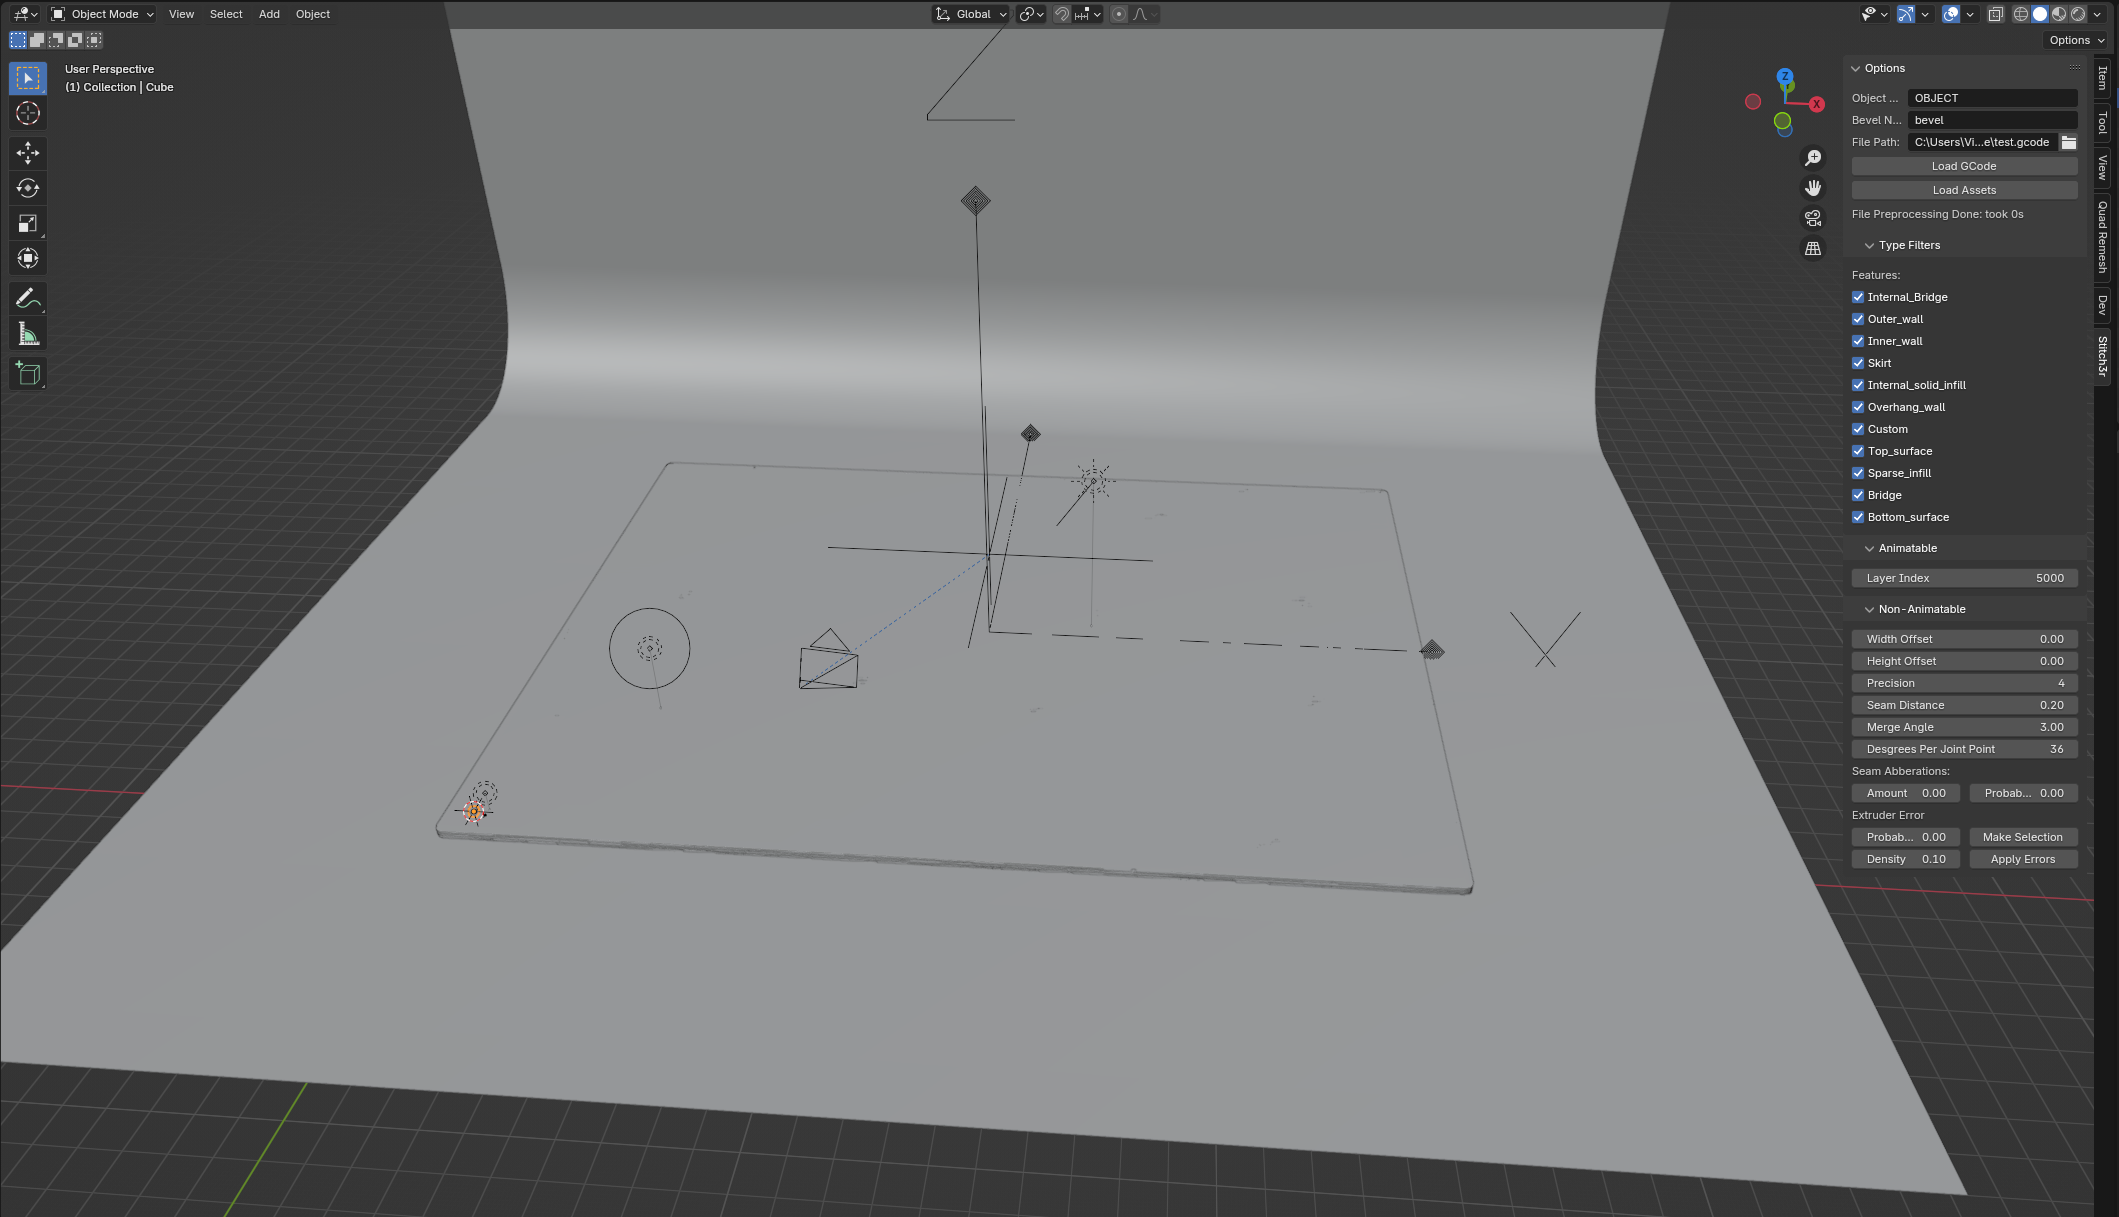
This is a sample plate, a camera and a light that you can use in rendering. You will require at least a very basic idea of how Blender works in order to get a render. Please remember to delete the defaultCamera,CubeandLightbefore proceeding to render anything. -
Now you can click the
Load GCodebutton. It will start processing the file and loading the layers. This is a computationally heavy operation. Blender is a single-threaded program. It might appear that nothing is happening for a few seconds (even 30-90 seconds).

⚠ Please do not click the button again or click other buttons or zoom in and out. Just leave the program be for a little bit.
After a few seconds have passed status should start updating in the status section. Just below the
Load Assetsbutton

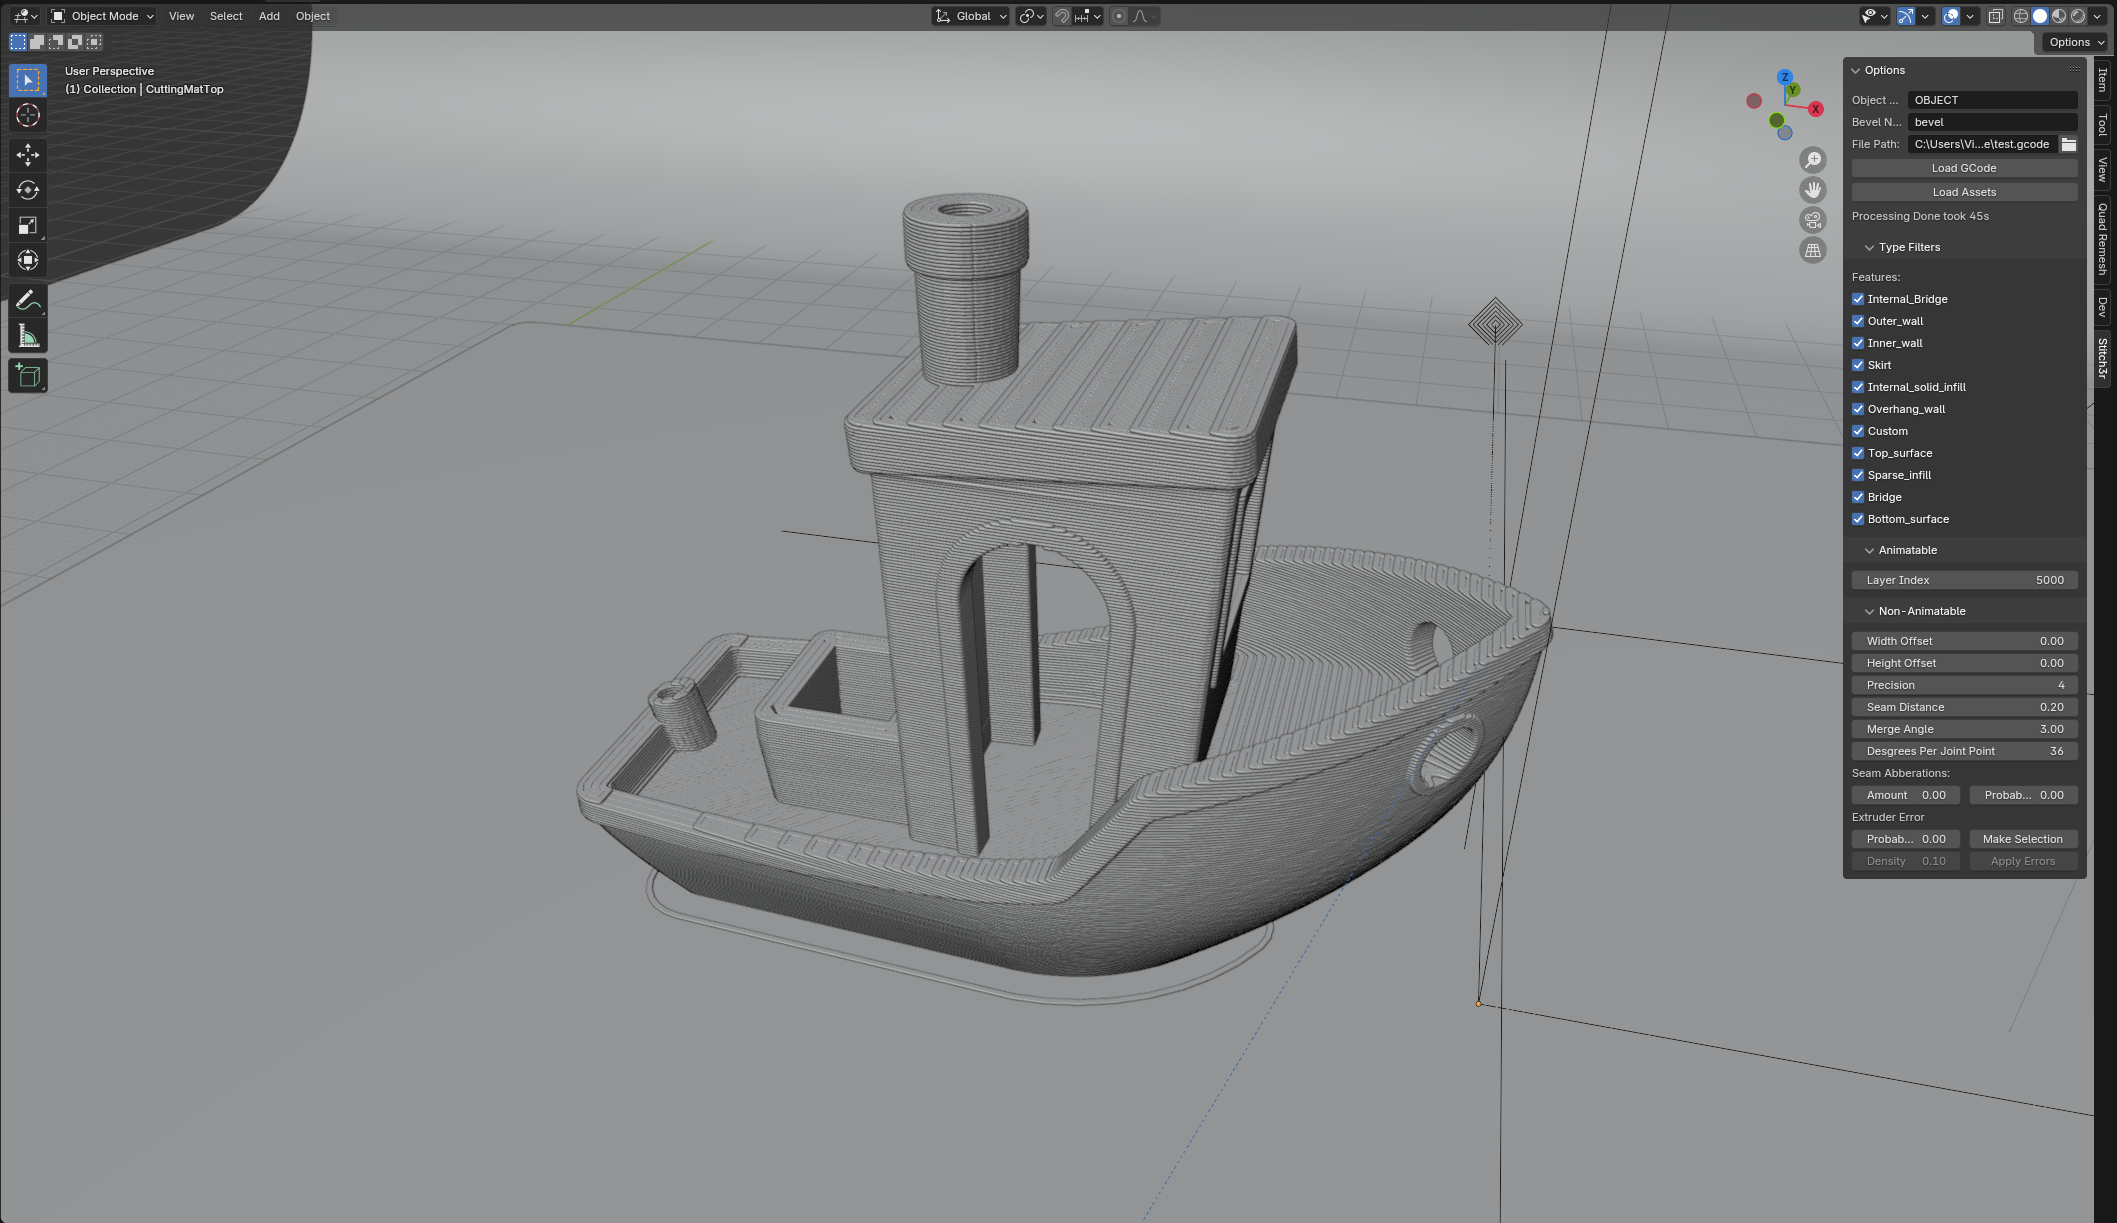
If your viewport is pointed at the right place you should also start seeing your model slowly appear layer by layer

⚠ During the whole process please do not click other buttons or zoom in or out. Just wait for all the layers to be processed. You can safely look at other programs and browse the internet if your computer is strong enough.
-
Congratulations. You’ve successfully loaded your first GCode into Blender.
-