How to Create a Timelapse
You are going to need a little bit of knowledge of the blender interface to do this. Unfortunately, explaining every small part of it is not possible in the docs but it is not very complicated to find these things.
- First, load the GCode into Blender following the steps here:
Your First GCode Import
It is highly recommended to start with a smaller print file, under 300 layers, as your first test. - Once done, You will find the
Layer Indexoption underAnimatablesection in the addonn-panel. It controls how many layers are visible in your viewport.

- set it to some number lower than the number of layers in your print and you will see all the layers above it are hidden:
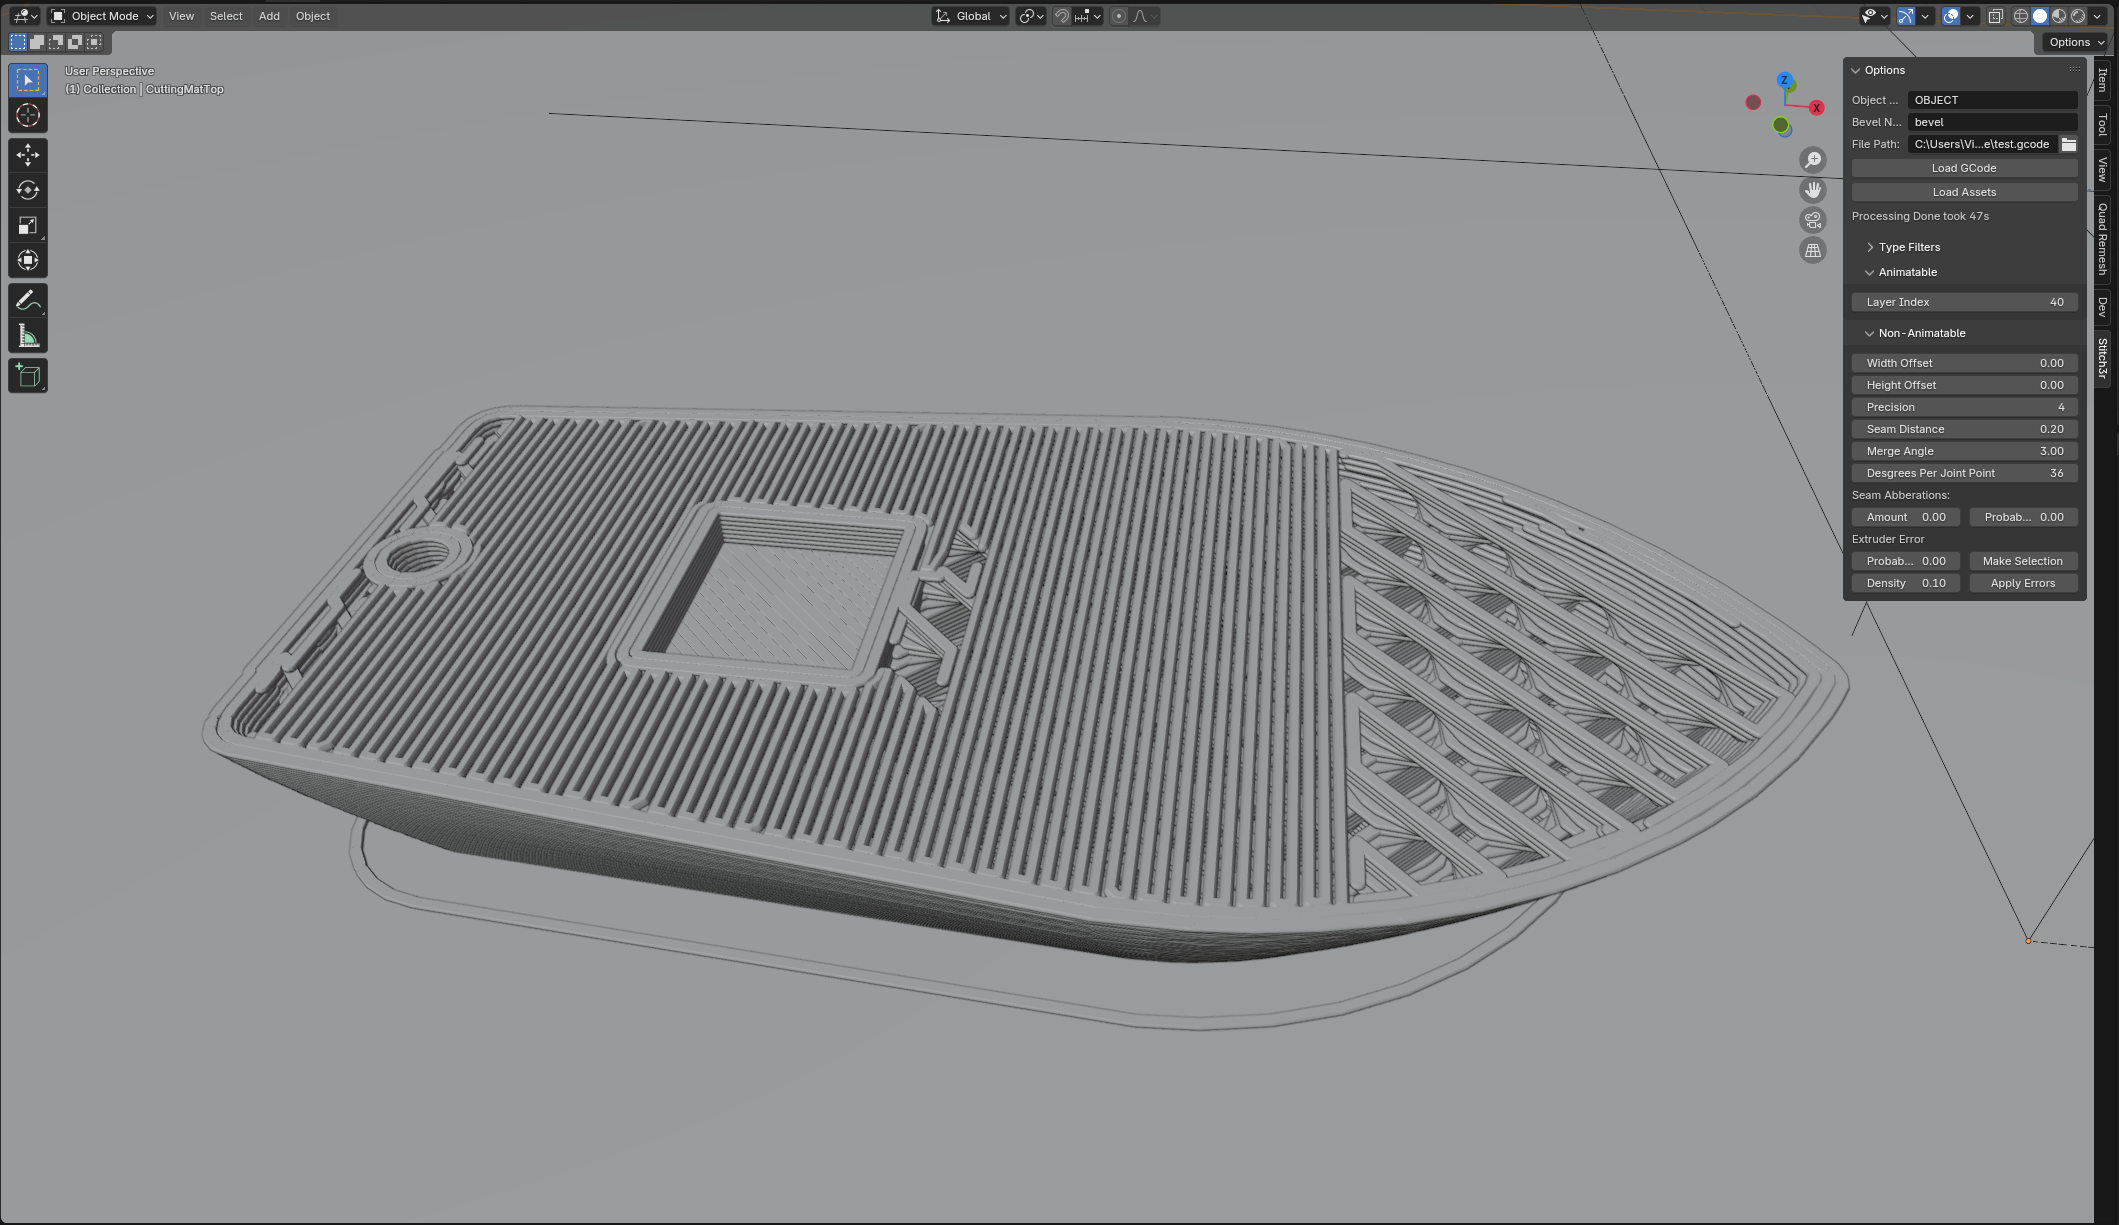
Layer Inded: 40, Total Layers: 240 - This is the property we’re going to animate. Find the
Timelinewindow in Blender. Go to Frame0:
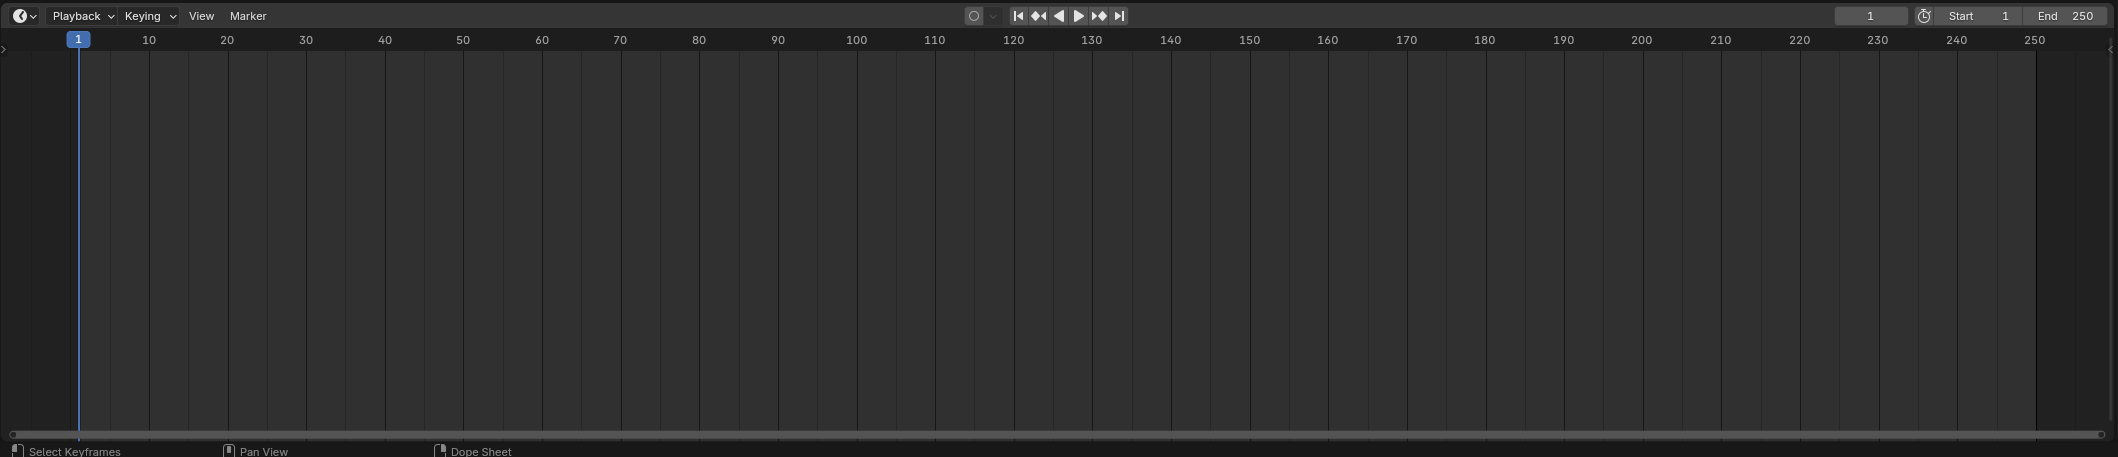
- Set
Layer Indexto0, then hover your mouse over it and hition your keyboard. The property will change color and a small dot will appear in the timeline:


- Go to the frame that equals the number of layers in your print. In my case, that is 240. Then go to
Layer Indexand set it equal to the number of layers in your print. In my case, 240. Hover over it and hitiagain:


- Make sure the
StartandEndproperties in the timeline are set to0and number of layers respectively:

- Go to frame
0and hit the forward play button and your timelapse should play in front of your eyes:

- Congratulations!!! You can now render it. Use it how you like. Please share with us on our discord server: https://discord.gg/r5FvC77cMw